Arch Linux: Install in 10 easy steps
It's just these 10 steps
Order —
- Making the archlinux live bootable image (on USB)
- Booting into the live Arch Linux
- Connecting to the internet
- Partition/Managment of disk
- Mounting the correct disk
- Installing Arch Linux
- Chroot
- Creating a user and password
- Installing the bootloader
- Installing the wm i3
1. Making the archlinux live bootable image (on USB)
If you are using a windows operating system then download rufus. Plug-in your usb and download the arch linux iso file from here. Click on the magnet link to download iso file using a torrent-client. If you have not installed some torrent-client then install qBittorrent. After installing qbitttorrent click on the magnet link on this page to start downlaod the iso image. Once you have downloaded it click on rufus present inside downloads. You would have a window open like this —
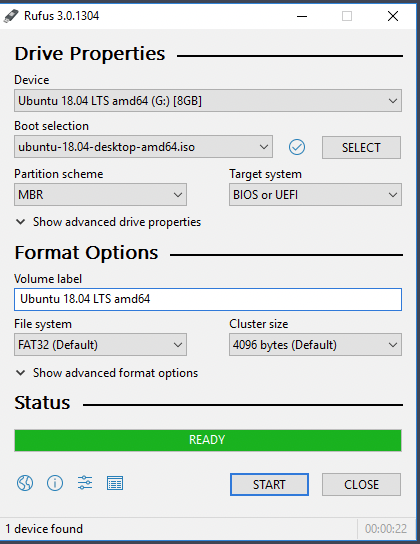
rufus image
See the first option “Device”. Click it and select your usb drive location in which you want to have the arch iso image. Then click on “Boot Selection” and select the arch-iso file in your downloads folder which you just downloaded by clicking on the magnet link. Click Start and wait for it to complete.
If you are using Gnu/Linux based system then you just need to download the arch-iso image file. Click on this link. Ubuntu comes with Transmission as default torrent client. Other distro users can download the qbittorrent. After that right click on the iso file and select disk image writer and use that to make your usb bootable as shown in image below—
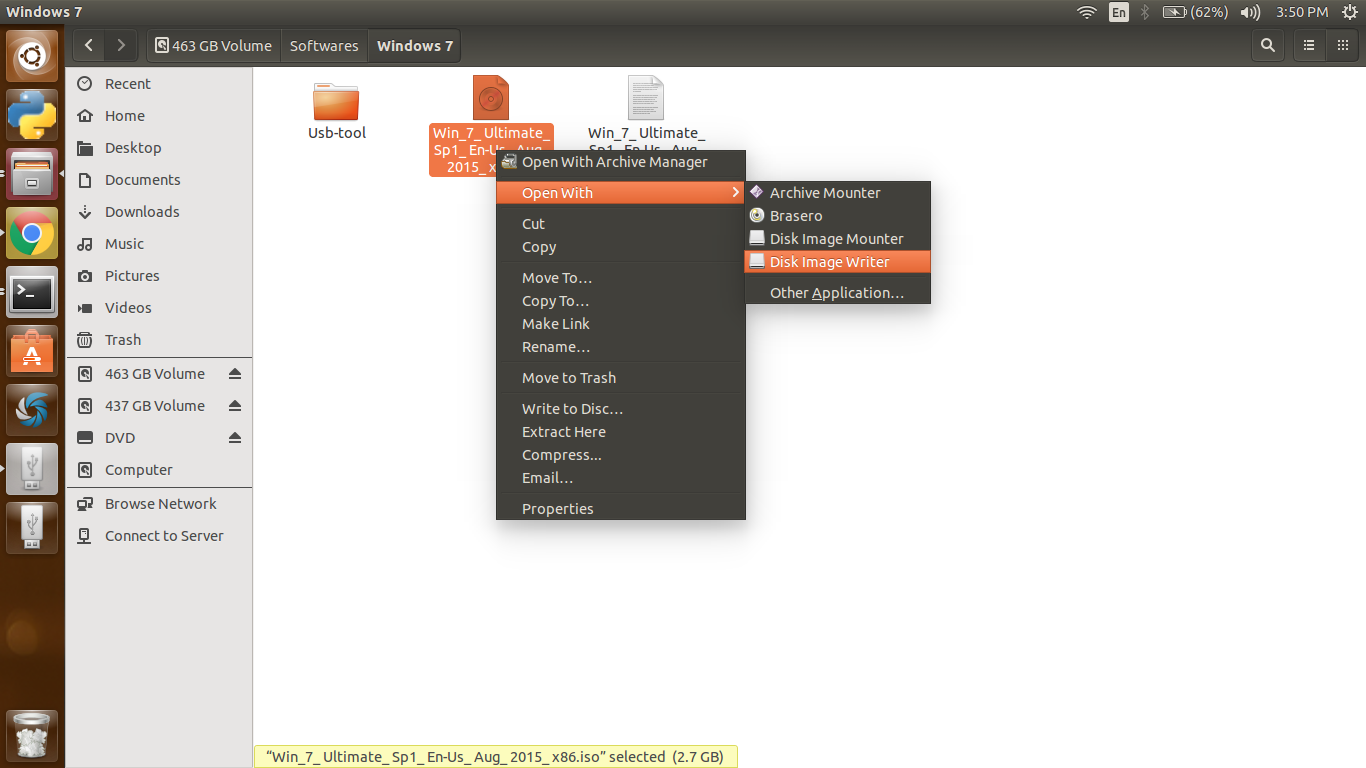
disk image write option image on a debian based distro
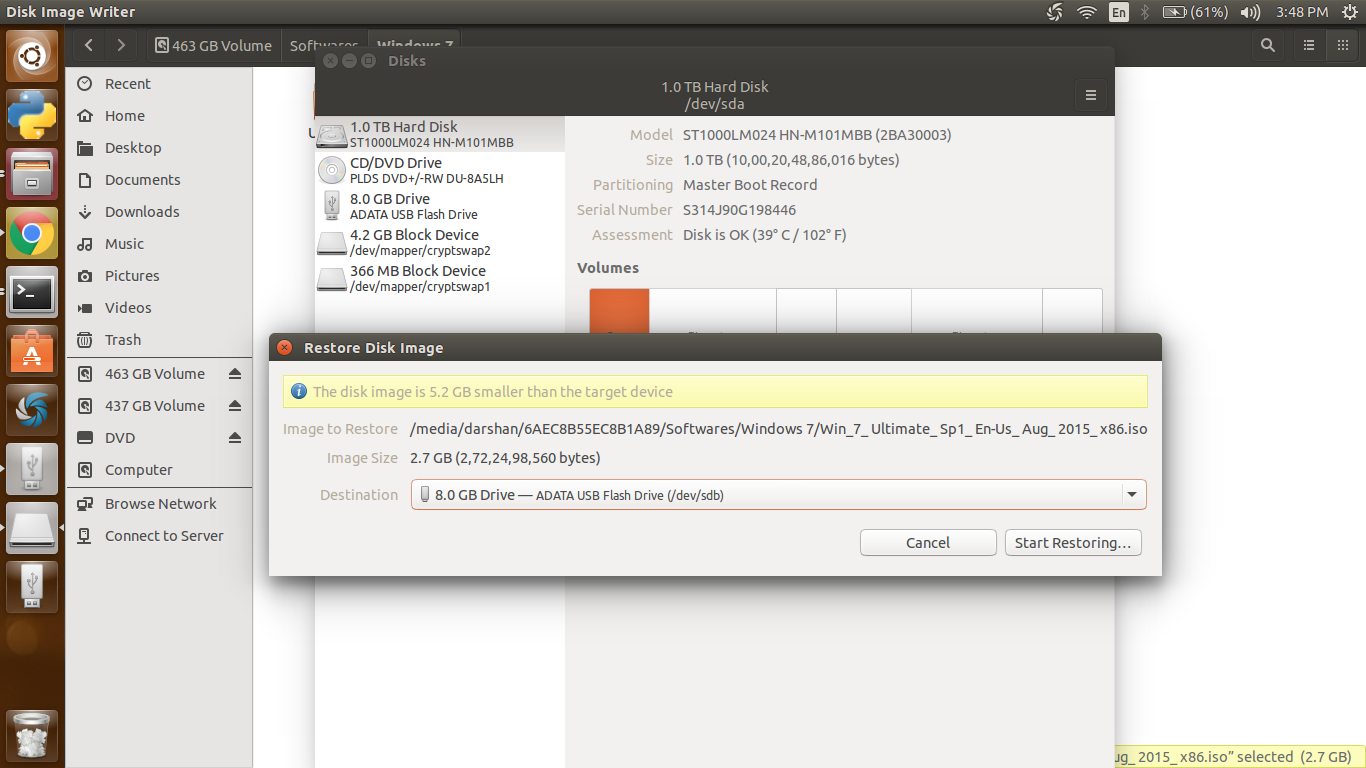
disk image writer in progress image
The above images taken from askubuntu-answer shows how to make bootable usb of windows 7 on a Ubuntu machine.
2. Booting into the live Arch Linux
You have to see which shortcut key is used on your laptop/PC/machine to change the bootloader. Once you know click that (F11 or F12) and select usb to boot from. I am listing shortcuts for some of the laptops —
Dell — F12
Acer — F12
hp — ESC + F10/F11
lenovo — F12
On some machines you have to enter bios and select the bootable medium and make usb as active bootable option.
On a Lenovo Thinkpad the options looks like —
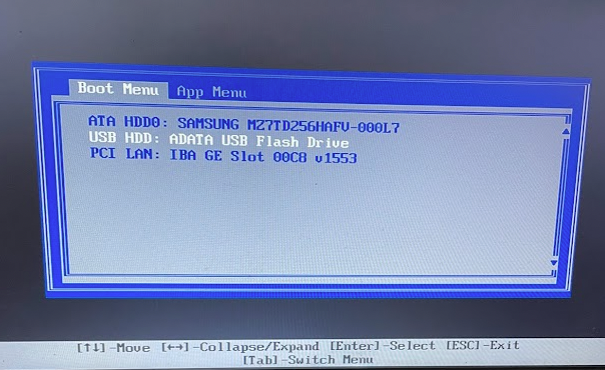
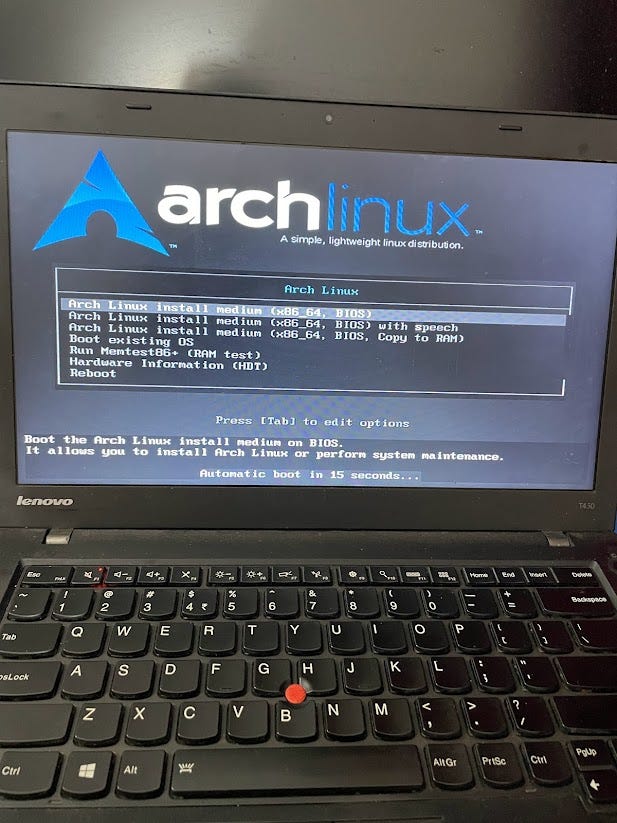
After clicking on Arch Linux installation wait for 2–3sec and the follwoing screen will appear —
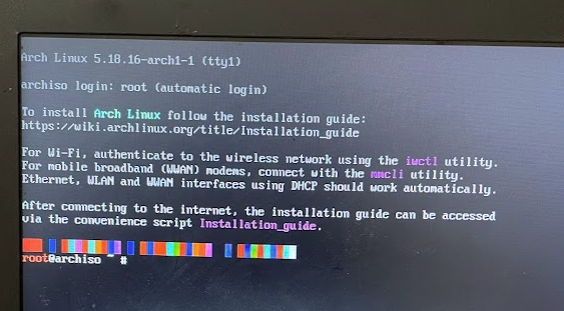
3. Connecting to the internet
Earlier we used to make connection using ethernet but now if your laptop/PC/machine on which you are trying to install arch linux has wifi then you would be happy to know that arch-iso comes with iwctl preinstalled on the live bootable.
Your station/interface must be enabled and in on mode to connect it to WiFi.
iwctl device list
Use the above command to get a list of your machine interfaces. It would look like something like below image —

wireless devices llst image\
Make sure it is powered “On”. Then use the command
iwctl station wlan0 scan
replace wlan0 with your device name. Then to get the list of all the networks use the command —
iwctl station wlan0 get-networks
It will give you result something like this —

Then finally to connect to a wifi issue the following command —
iwctl –passphrase=***** station wlan0 connect Darshan4G**
Replace ***** with your WiFi password, wlan0 with your wifi interface name and Darshan4G with you WiFi SSID.
Now to check if you are connected to internet issue the command —
ping google.com
If you see some output like —
x bytes from -xxxx. icmp_seq=1 … etc
x bytes from -xxxx. icmp_seq=1 … etc
then you have succesfully connected to the internet. There is a reason why ICMP is used instead of TCP here but I will not go into detail of that right now. If needed I will create a seprate post for that.
4. Partition/Managment of disk
We will be using fdisk tool for this. It comes preinstalled on the live image which we are booted into. If you want to use some other tool like parted then we are connected to the internet now, so you can issue the command —
pacman -S parted
to download and install it.
But we will be using fdisk for partitioning and formatting the disks.
fdsisk -l
It will show you all the devices mounted and their partition format. Something like this —
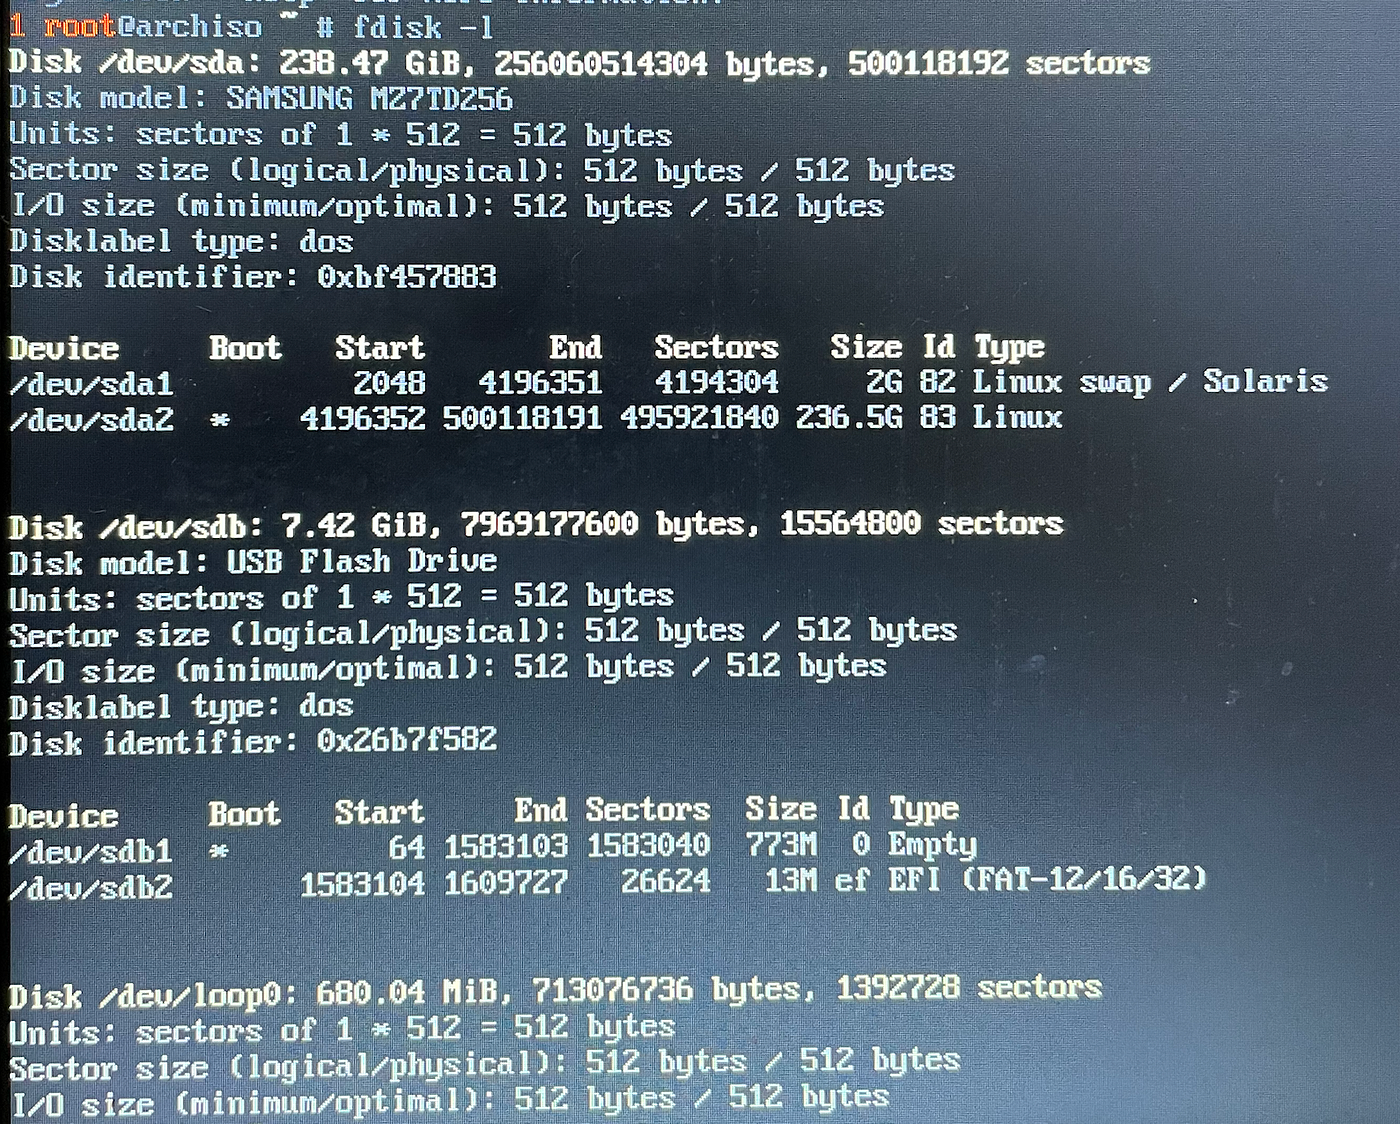
output of fdisk -l
Here /dev/sda is my ssd and /dev/sdb is usb which is being used to install arch. We need to partition and format /dev/sda, for that
fdsisk /dev/sda
then type m and a detailed options containing shortcuts for fdisk will be presented to you —
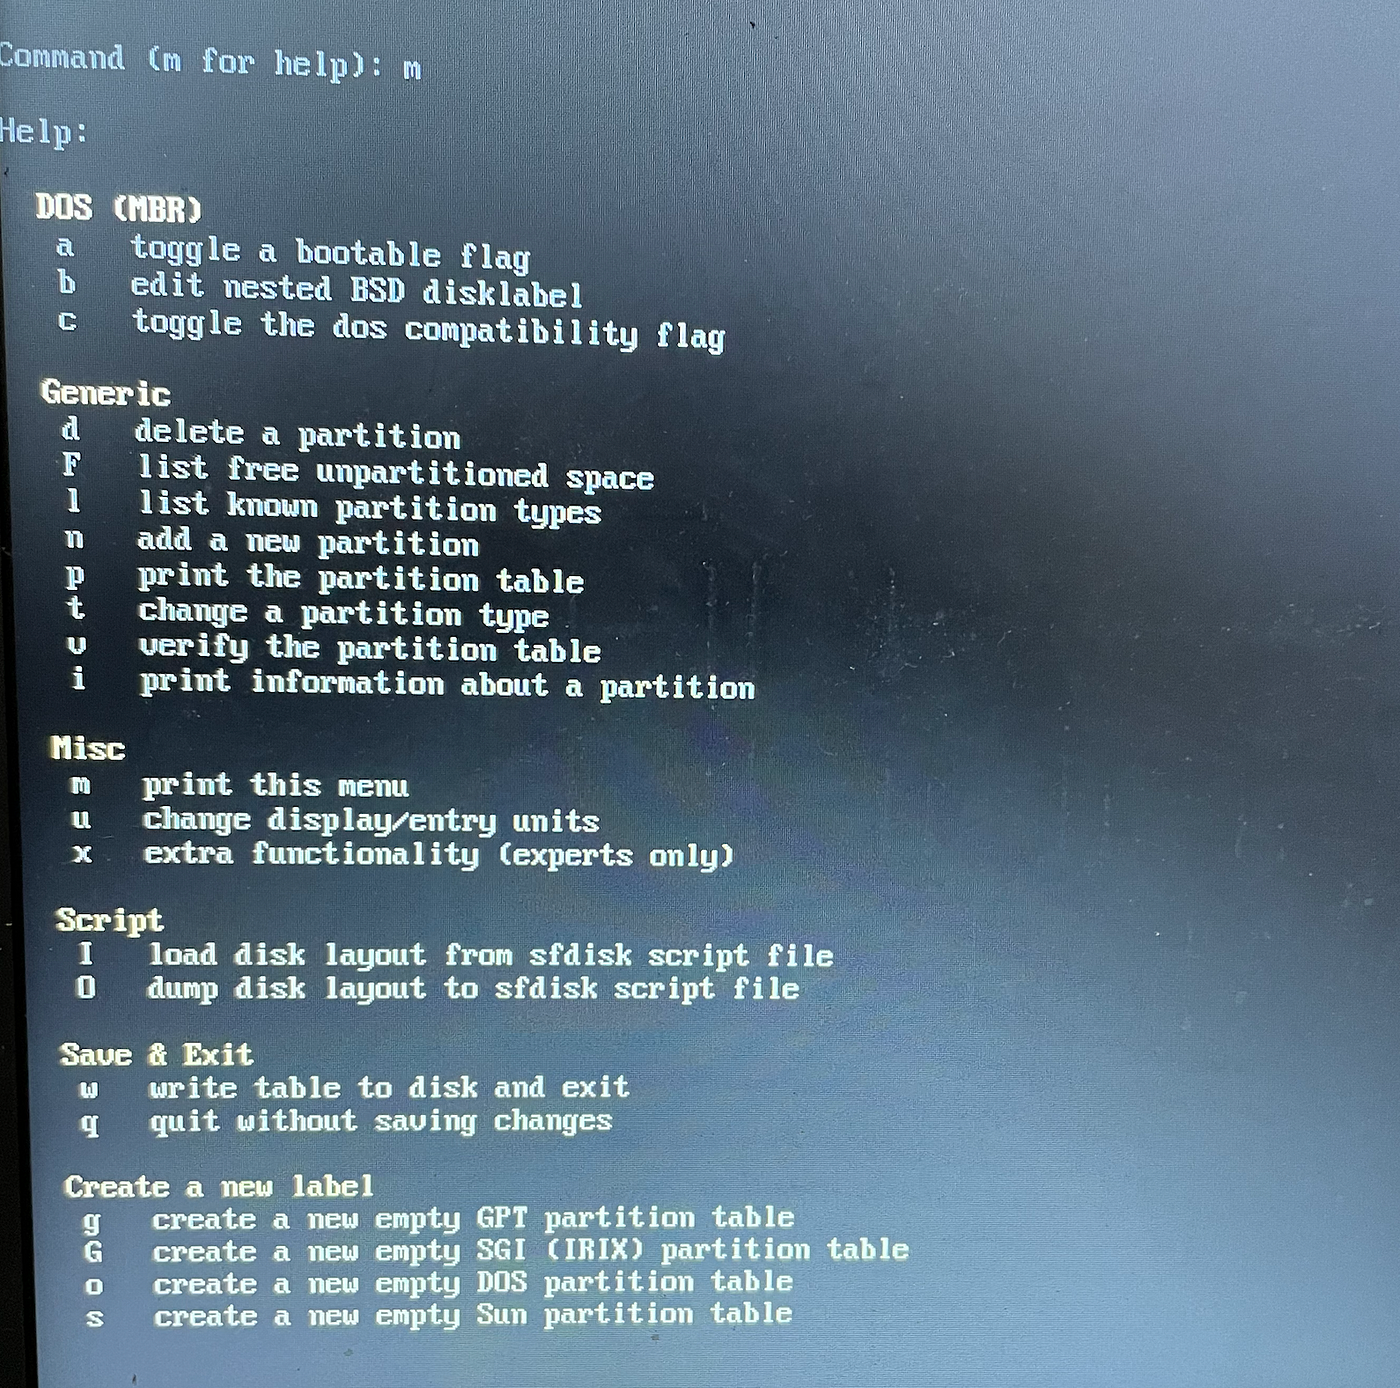
Make sure you are in correct disk and now you can delete all the partitions using d and n to create to new partitions (for swap) and for /. End result of mine looked like this —

mkfs.ext4 /dev/sda2****mkswap /dev/sda1
The above 2 commands are used to format the partitions we just created.
Note: This guide to install linux covered installation on MBR type partition and not GPT. Arch wiki has all the details on how to partition and install on gpt partititon types.
5. Mounting the correct disk
Now we need to tell that our partitions are ready and needs to be mounted.
mount /dev/sda2 /mnt
Now, to tell arch about the swap paritition.
swapon /dev/sda1
6. Installing Arch Linux
Issue the following command to install base-package and linux kernel —
pacstrap /mnt base linux linux-firmware
We are using /mnt because that is pointing to our /dev/sda so we are directlly installing on our storage media.
7. Chroot
To generate the fstab file use —
genfstab -U /mnt » /mnt/etc/fstab
It tells systemd how partition devices should be mounted just after boot.
Now we need to enter in our partition where all files are already installed. For that we will use the following command —
arch-chroot /mnt
After changing the root (note: this chroot is one of the most powerful tool ever created, at the very base of all containers, kubernets runs chroot and C language system flags) we can set the time zone —
hwclock –systohc
It will create a file in /etc/adjtime. Then use
locale-gen
to genrate the necessary text/font. Also store
LANG=en_US.UTF-8
in a file /etc/locale.conf
To set the local time zone —
ln -sf /usr/share/zoneinfo/Asia/Kolkata /etc/localtime
To set your hostname on network —
hitman
in /etc/hostname
and last to set the password of root user type passwd on terminal.
8. Creating a user and password
useradd -m -G wheel darshan
- m is used to create home directory for this user.
- G is used to add this user to wheel group
To create a password use —
passwd darshan
9. Installing the bootloader
I used grub as my bootloader. There are various other alternatives available however. To see the list click here.
pacman -S grub
to install the grub. Then install necessarry bootloader files using the command —
grub-install –target=i386-pc /dev/sda2
and then use
grub-mkconfig -o /boot/grub/grub.cfg
to genrate a configuration file for grub.
Note: I have installed the MBR specific grub files as according to my partition type. If your partiton is UEFI or you use GPT then this guide will be more useful.
10. Installing the wm i3
Last step is to install a window manager which requires an XOrg server to communicate with the linux kernel.
pacman -S xorg
We are installing xorg-xinit to tell to start i3 as soon as arch boots.
Now, to install video drivers —
pacman -Ss xf86-video
To install i3wm —
pacman -S i3wm
Place the following code at the end of your ~/.xinitrc file —
xclock -geometry 50x50-1+1 &
exec xterm -geometry 80x66+0+0 -name login
xscreensaver &
exec i3
Now from here on sky is the limit. Customize your fonts. Make your terminal look cool. Work on i3-bar and ….
My i3 -bar config file —
This is what I created when I installed arch linux in college —
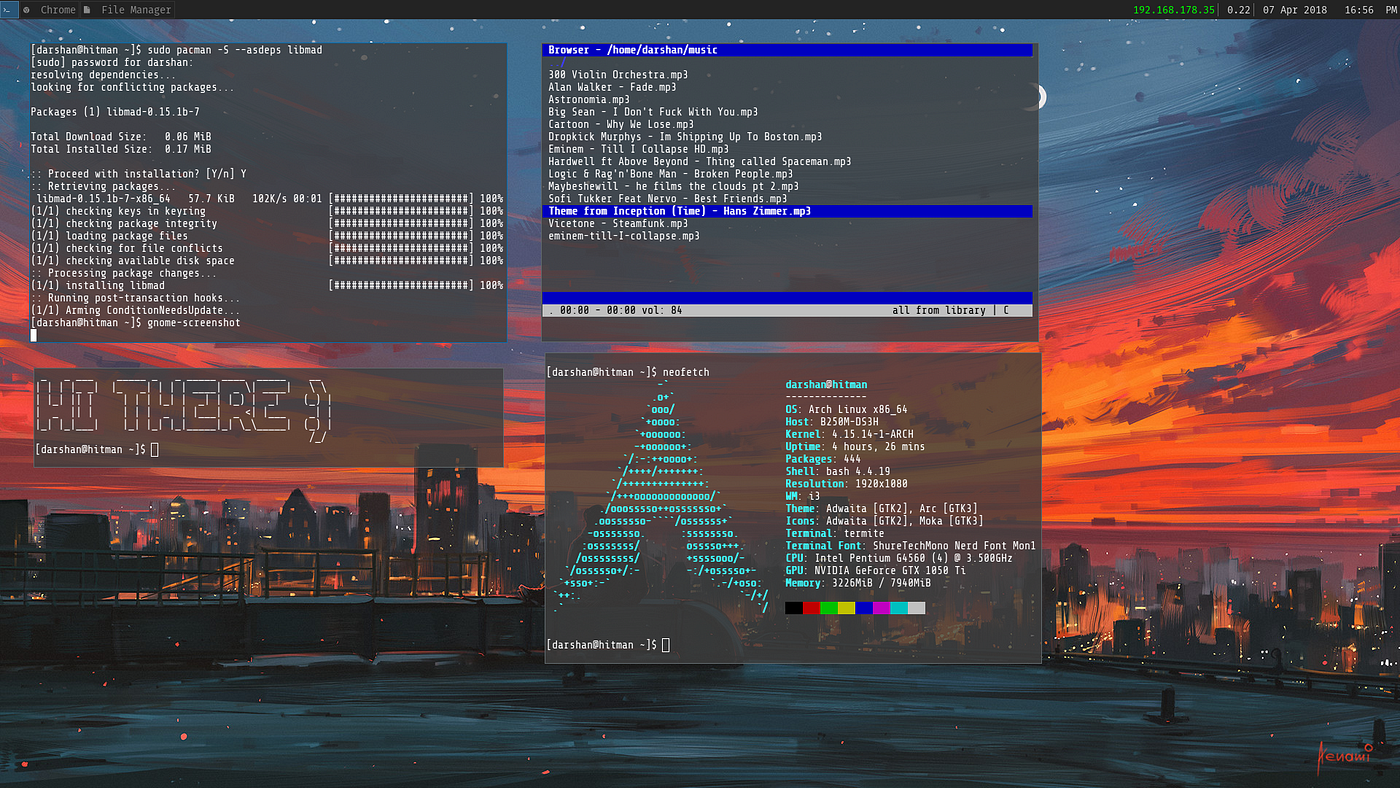
Now, I suppose it’s time I should put down my pen.
Under: #gnu/linux , #tech , #how-to